As an Amazon Associate, we earn from qualifying purchases. Some links on this site are affiliate links at no extra cost to you. Our recommendations are based on thorough research and editorial judgment.
Creating Panoramas With Camera Drones: Techniques Explained
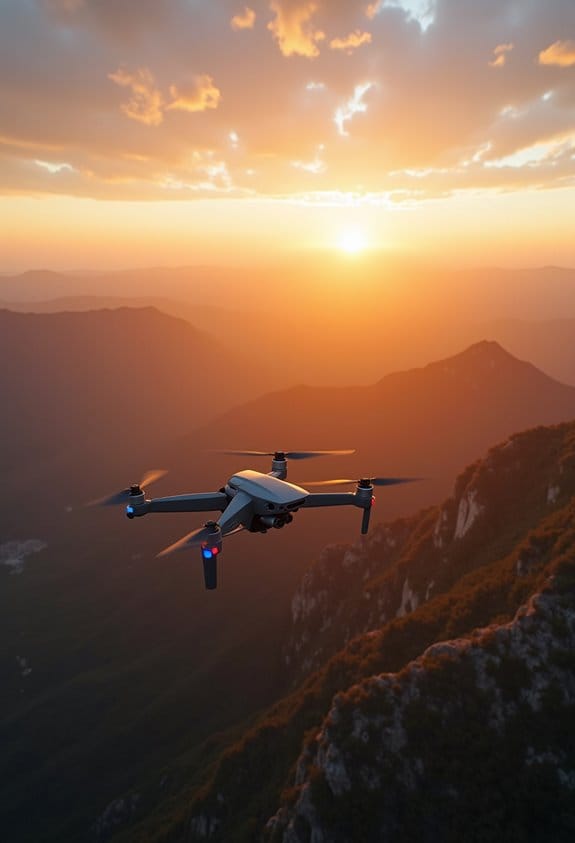
Creating stunning panoramas with camera drones requires careful planning and specific techniques. We should plan our shots, guaranteeing a 40-50% overlap between images for easier stitching later. Using manual settings combined with bracketed exposures helps balance lighting. Equipping ourselves with reliable drones, fast SD cards, and appropriate editing software enhances our results. It’s essential to capture images at various angles and verify we’re using the nodal point technique. By mastering these methods, we can access even more impressive results.
Key Takeaways
- Plan your shots with a 40-50% overlap to facilitate seamless stitching in post-processing.
- Utilize the nodal point technique to minimize parallax and ensure smoother panorama captures.
- Capture images in RAW format and bracket exposures to enhance dynamic range for HDR editing.
- Use specialized editing software like Photoshop for alignment and merging multiple images efficiently.
- Adjust the drone’s gimbal for optimal camera angles and pay attention to leveling for straight horizons.
Essential Steps for Creating Stunning Drone Panoramas
Creating stunning drone panoramas can be both thrilling and rewarding! To get started, it’s super important to plan ahead a bit. When you’re capturing images, aim for a 40-50% overlap between each shot. This overlap helps your software easily stitch everything together later without any awkward gaps.
Another fun tip is to use the nodal point technique. Basically, you rotate your drone around the lens’s nodal point – this reduces parallax, which means your final image will look a lot smoother and more cohesive. If you want to capture a well-balanced range of light, try using manual settings with Auto Exposure Bracketing (AEB). This means taking multiple shots at different exposures – think about three to five stops apart – so you capture everything from dark shadows to bright highlights.
Once you’ve snapped all your photos, it’s time for some editing magic. You can use software like Lightroom or Camera Raw to merge your images and fix any stitching issues. It’s amazing how a little bit of refining can elevate your panorama from good to stunning. With these tips in mind, imagine the gorgeous landscapes you’ll be able to capture! Can’t wait to see what you create next!
For the best results and to avoid storage limitations during your shoot, consider using a high-capacity memory card designed for 4K video and high-speed data transfer.
Essential Equipment for Stunning Drone Panorama Photography
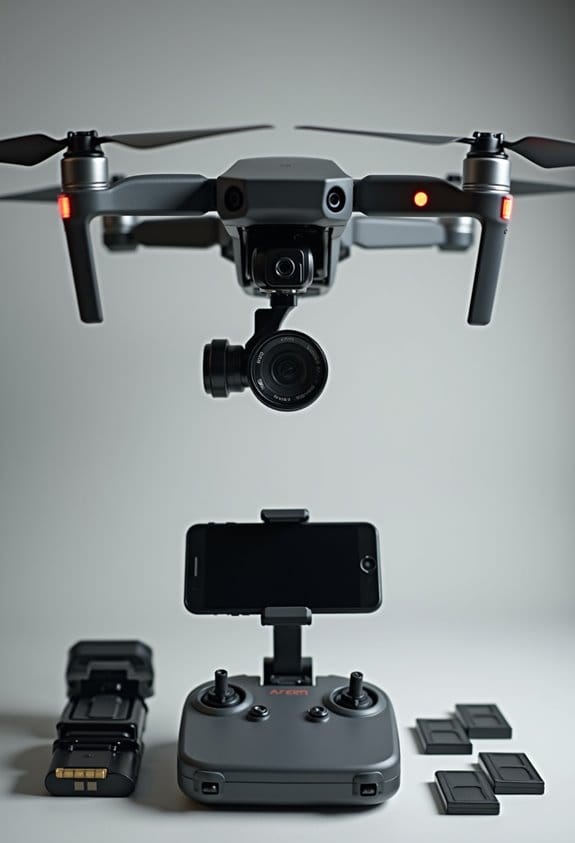
If you’re looking to capture stunning drone panoramas, picking the right equipment is super important! First off, you definitely want a reliable drone with a high-quality camera, especially one that can handle different lighting situations. For instance, the DJI Mavic Air 2 is a great option because it performs well in various conditions and takes crisp photos.
Another key item is fast SD cards, which will save you time between shots, ensuring you don’t miss any perfect moments. Trust me, no one likes waiting! When it’s time to edit, software like Photoshop is invaluable for that “Merge to Panorama” feature, which helps you stitch your images together seamlessly. A good rule of thumb is to keep a 40-50% overlap with each shot to make the stitching process easier.
Plus, if you want to fine-tune your images, plugins like Flexify 2 can help with alignment and precision. With these tools, you’ll create breathtaking panoramic photos that beautifully display the landscapes you’re photographing. Selecting a drone with stabilization features such as 3-axis gimbals also significantly improves the smoothness and clarity of your panorama shots.
Ready to take off and capture those amazing views? Let’s talk about some practical shooting techniques next!
Ideal Settings for Capturing High-Quality Drone Panoramas
If you want to capture stunning drone panoramas, you’ll need to get a bit technical with your camera settings. The right adjustments can make a huge difference in how your images turn out. For starters, using manual mode is key. It gives you full control over exposure settings, so you can play with things like ISO, shutter speed, and aperture to match the lighting conditions of your scene.
Speaking of lighting, make sure you’re overlapping your shots by at least 40-50%. This overlap helps when you stitch the images together later and ensures everything blends smoothly. And don’t forget about your gimbal! If it has upward rotation, use that to catch more of the sky in your shots—this can really elevate your panorama’s composition.
Also, shooting in RAW format is a smart move. It allows for greater adjustments in post-processing, giving you better quality and dynamic range in your final images. Before you hit that shutter button, double-check that your drone is level; this will avoid those annoying wavy horizons that can mess up your panorama. Once you get all these settings right, you’ll be well on your way to creating breathtaking drone panoramas that showcase beautiful landscapes and skies.
Using drones with advanced stabilization technology helps ensure your panorama shots remain smooth and free from motion blur during flight.
Now that we’ve got the settings down, let’s explore the best times of day to capture those perfect shots!
Techniques for Shooting High-Quality Drone Panoramas
Hey there! So, now that we’ve covered the key settings for shooting high-quality drone panoramas, let’s chat about some techniques that can really take your images to the next level. For the best results, try manually rotating your camera about 45 degrees for each shot. This helps create a nice overlap—aim for around 40 to 50 percent—to make stitching those images together a breeze later on.
It’s a good idea to focus on the nodal point when rotating your camera. This technique helps reduce any undesirable parallax effects, which can mess with the final stitched image. Also, think about tilting your camera down a bit at intervals. Capturing photos at 30 and 60 degrees, along with one shot pointing straight down, helps you cover all angles of the view. If you’re aiming for HDR panoramas, take three to five bracketed exposures at +/- 2 stops apart. This truly expands your dynamic range and gets those details popping.
For a smoother shooting experience, consider using an app like DronePan—it can really make everything feel more organized and less overwhelming. Using drones equipped with 3-Axis Gimbal stabilization will also significantly improve image sharpness and quality in your panoramas. Next up, we can talk about the best places or times to capture these stunning panoramas!
Master the Stitching Process for Seamless Panoramas
Hey there! If you’re looking to master the stitching process for seamless panoramas, you’ve come to the right place. It’s all about getting those drone images to blend together beautifully, but it does require some attention to detail.
First off, when you’re snapping those photos, aim for a 40-50% overlap between each shot. This helps reduce the chances of any awkward seams showing up later. After you have your collection of images, try using Lightroom to stack any exposure-bracketed images and turn them into an HDR panorama. For example, if you took a series of shots during sunset, this step will really pull out the vibrant colors without losing detail in the highlights or shadows.
Next, when it comes time to stitch the photos together in Photoshop, using specialized software like PT GUI can really give you an edge. This program lets you tweak the alignment and blending of images, ensuring that everything looks smooth. Remember to choose the ‘Spherical’ projection type—it’s the best option for keeping those horizontal lines straight.
Lastly, if you notice any little glitches in the stitching, don’t sweat it! You can tidy everything up using the patch or stamp tool in Photoshop. Trust me, taking the time to clean these up is worth it for that polished final look.
Also, consider using drones equipped with advanced gimbal technology to capture steady images that make the stitching process much easier.
How to Edit Your Drone Panoramas for Maximum Impact
Alright, so we’ve stitched our drone images together for that perfect panorama, and now it’s time to make it pop in the editing process. First things first, let’s get those bracketed images organized. Create folders labeled with exposure levels, like “light” and “dark.” This little step can save you a ton of time later on and makes it easier to find what you need.
Next up, let’s jump into Lightroom for some fun. Here, you can stack those images and create HDR panoramas. Make sure to auto stack them by capture time—it helps keep everything tidy. Once we’ve got our HDR images for each row, we’ll head over to Photoshop. It’s there that we’ll merge those HDR images into one and then stitch it all together into a master panoramic photo.
With the stitching done, let’s resize the canvas to a 2:1 ratio—this will give your panorama that ideal wide-angle look. Now, go ahead and make any grading adjustments to enhance the colors and contrast. Lastly, don’t forget to export your masterpiece in a high-resolution lossless format. This way, all those intricate details stay sharp and clear.
Keep in mind that using drones with 6K video resolution will provide the best quality source material for creating detailed panoramas.
And that’s the editing process in a nutshell! Next, let’s talk about a few techniques to share your stunning panoramas with the world.
Best Practices for Sharing Your Drone Panoramas Online
Hey there! Sharing your drone panoramas online is such a thrilling way to show off your creativity and skills. But if you want your work to shine, there are a few best practices you should definitely keep in mind. For starters, I recommend using Kuula.co. It’s a fantastic platform that lets you create interactive panoramas, giving viewers a unique 3D experience that truly brings your images to life.
Make sure to save your images in high-resolution formats like JPEG or PNG. This will ensure your details come through clearly. And don’t forget about the aspect ratio—it’s best to aim for a 2:1 ratio. This helps your panoramas fit perfectly on various social media platforms and photography sites. When posting, you can share links on social media or photography forums to get your audience buzzing about your work; trust me, it makes a difference!
Also, consider using tools like the DJI Fly app. It can help capture those stunning shots effortlessly, and if you pair it with neutral density filters, you can take your panoramas to another level. To enhance your shooting experience and ensure steady panoramas, choosing drones with advanced stabilization systems is a great idea. So, grab your drone, get creative, and get ready to impress your friends with your captivating images! Speaking of creativity, let’s chat about some cool ways to make your images even more engaging.
Troubleshooting Common Issues in Drone Panorama Photography
Capturing stunning drone panoramas is such an exhilarating experience, but let’s be real—there are a few common issues that might pop up along the way. First things first, one crucial step is calibrating our drone. Just think of it: if the nodal points aren’t set correctly, you could end up with parallax issues, which can really mess up the alignment of your images.
Another thing to keep an eye on is stabilization. If it’s a windy day, grabbing a neutral density filter could save you time and hassle by stabilizing your shots and cutting down on motion blur. This way, your aerial panoramas will come out looking crystal clear every time.
We should also aim for a solid 40-50% overlap between images. Why? Because that overlap enhances the stitching accuracy—less overlap means your final image might have glaring gaps. Imagine taking photos of a beautiful landscape but missing key elements because of this!
Don’t forget about external factors like lighting, too. If the contrast is really high, it can complicate stitching your images together seamlessly. Sometimes, you might have to adjust or retake certain shots to ensure everything lines up perfectly, like having to retake a family photo because someone blinked!
Additionally, protecting your equipment with a waterproof rain cover can be essential during unpredictable weather to keep your gear dry and functional while capturing panoramas outdoors.
Frequently Asked Questions
What Is the Technique of a Panorama Photo?
We use panorama composition techniques by ensuring perfect camera settings for ideal lighting conditions, applying a 50% overlap, and then enhancing our images with post-processing tips for stunning results that capture the full scene.
How Does a Panorama Camera Work?
Imagine spinning around to capture a vast horizon. A panorama camera technology works similarly, using advanced image stitching processes and lens distortion correction to create beautiful wide landscapes, seamlessly blending each image into one stunning panorama.
How to Stitch DJI Panorama Photos?
To stitch DJI panorama photos, we can use software options like Lightroom or Photoshop. We’ll guarantee proper photo alignment and apply editing tips, including profile corrections for efficient stitching techniques. Let’s create stunning panoramas together!
How to Do a 360 With a Drone?
To do a 360 with a drone, we’ll first select ideal lighting and drone altitude. Then, we’ll employ varied shooting angles while capturing movement, ensuring a stunning panoramic shot to remember.