As an Amazon Associate, we earn from qualifying purchases. Some links on this site are affiliate links at no extra cost to you. Our recommendations are based on thorough research and editorial judgment.
What Is HDR Photography and When to Use It With Drones
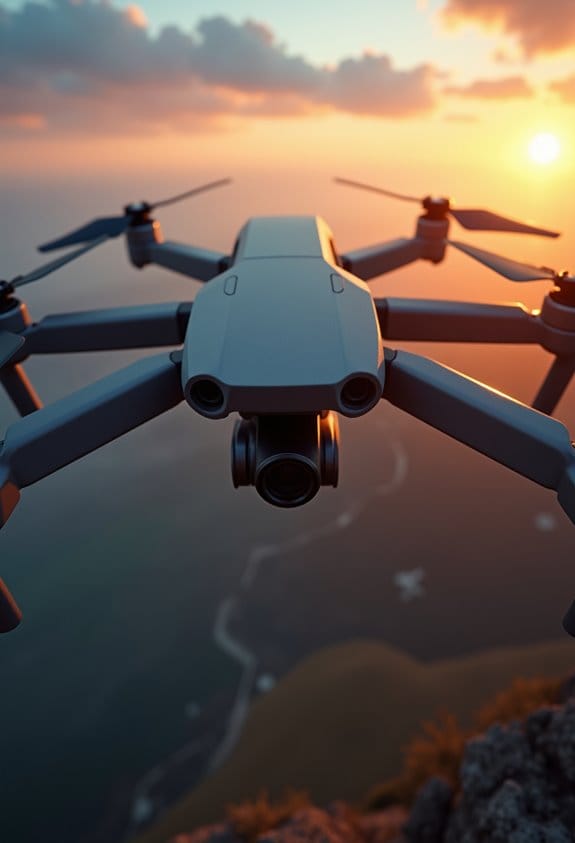
HDR photography captures a wide range of light by blending multiple exposures, which is especially effective when using drones. Drones provide unique aerial perspectives and can capture details often missed from the ground. By leveraging settings like Auto Exposure Bracketing and shooting in RAW format, we can create stunning visuals that highlight contrasts, particularly during sunrise or sunset. Understanding the ideal conditions and editing techniques can further enhance our HDR shots, which we can explore further.
Key Takeaways
- HDR photography captures a wide dynamic range by combining multiple exposures, making it ideal for scenes with bright highlights and deep shadows.
- Drones enhance HDR photography by capturing unique angles and low altitude shots, providing detailed imagery of landscapes and properties.
- Use Automatic Exposure Bracketing (AEB) on your drone to take multiple shots at different exposure levels, improving image detail in high-contrast situations.
- Ideal times for HDR drone photography are during sunrise and sunset, utilizing soft light for better contrast in images.
- Post-editing with software like Adobe Lightroom maximizes image quality and detail, especially when shooting in RAW format for HDR.
What Is HDR Photography and Why Does It Matter?
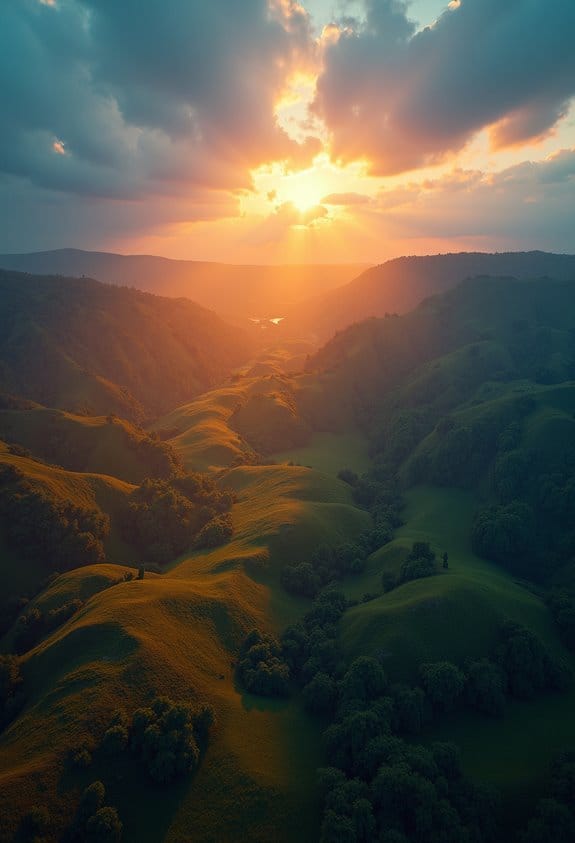
Hey! So, let’s chat about HDR photography—it’s a cool technique, especially when you’re using drones. HDR, or High Dynamic Range photography, is all about combining several photos taken at different light levels to create one amazing image. This way, you capture all the details in the brightest highlights and the deepest shadows, which is super important in high-contrast situations, like when you’re capturing a sunrise or sunset.
For example, if you’re flying your drone over a beach during sunset, you might snap a few photos: one with the sun shining bright, another with the darker shadows of the water, and a few in between. When you combine these, the final shot shows every little detail, from the glowing sky to the shimmering waves—something a single exposure might miss.
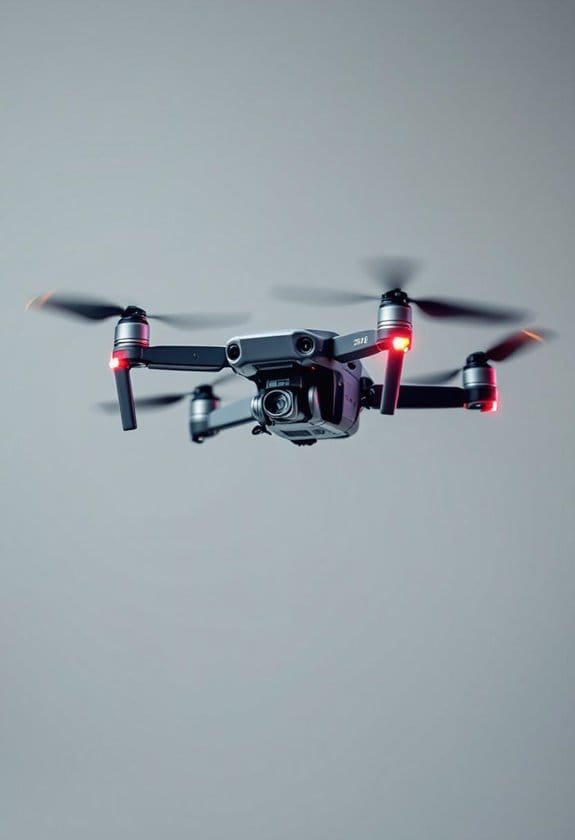
When you use your drone’s bracketing feature, it gives you more control over the exposure settings. This means your aerial shots can really pop and look visually striking, perfect for landscapes or architectural photography. So, next time you’re out flying your drone, give HDR a try and see how it transforms your photos! Speaking of photos, let’s talk about how to get the most out of your drone’s camera settings. Many advanced drones, like the DJI Mini 4 Pro, come equipped with 4K HDR video capabilities that complement HDR photography perfectly.
How Do Drones Enhance HDR Photography for Real Estate?
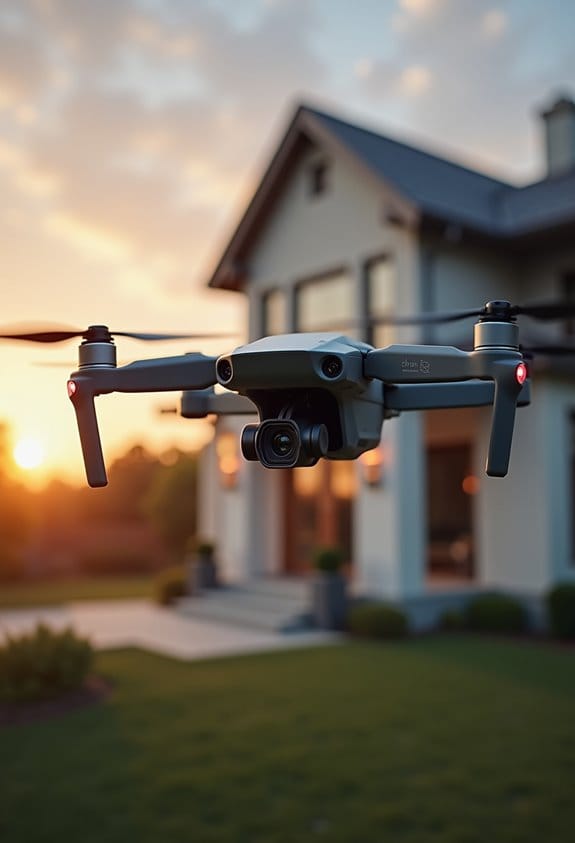
You know how stunning drone photography can be? Well, when it comes to HDR photography for real estate, drones really take things to a whole new level! They let us capture breathtaking images from angles and heights that you’d never get with traditional photography. For instance, shooting from low altitudes can highlight that gorgeous pool or a vast backyard in a way that captivates potential buyers.
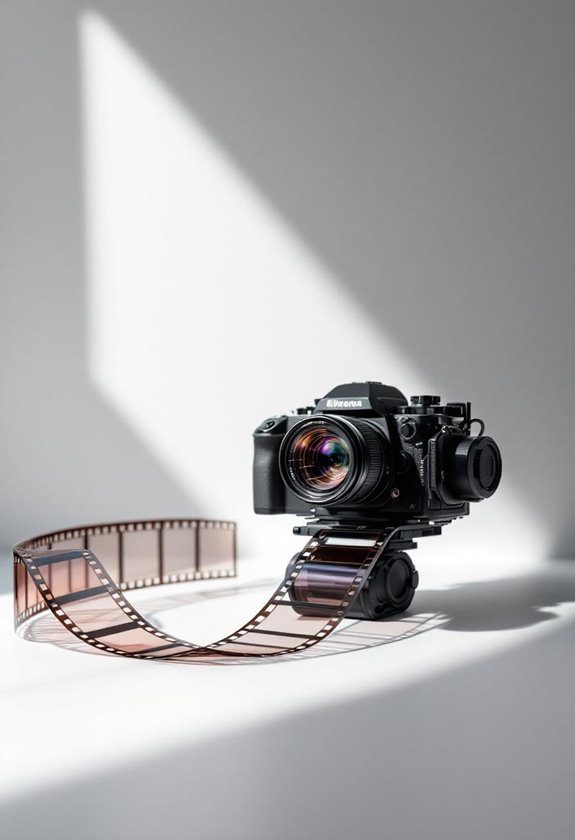
With drones designed for HDR work, we use a technique called Auto Exposure Bracketing (AEB). This might sound technical, but it simply means taking several photos at different exposure levels. By doing this, we can balance out the bright spots, like sunlight reflecting off a surface, and the dark areas, such as shaded corners of a yard. Plus, shooting in RAW format gives us the best detail to work with when we’re editing these images in software like Lightroom.
The result? We end up with stunning visuals that make properties pop and definitely stand out in the real estate market. Just imagine seeing the full vibrancy of a home’s feature from above—it really draws you in! And as we explore more about real estate photography, understanding how these techniques enhance overall property appeal can be game-changing.
Moreover, many of these drones come equipped with advanced stabilization technology that ensures smooth and professional image capturing even in windy conditions.
Which Settings Work Best for HDR Drone Shots?
If you’re looking to capture stunning HDR images with your drone, there are some key settings that can really make a difference. First off, I recommend using manual shooting mode along with RAW format. This combo gives you the freedom to edit your shots later without losing quality. For instance, if you shoot in RAW, you have much more leeway to adjust shadows and highlights without the risk of degrading the image.
Now, let’s talk about exposure. Automatic Exposure Bracketing (AEB) is your friend here. It allows you to take three to five photos at different exposure levels—think of it as snapping one shot at -2 stops, another at 0, and one more at +2 stops. This helps to capture a wide dynamic range, making sure both the bright and dark parts of your scene look fantastic.
Also, consider enabling tripod mode or simply hovering steadily to reduce motion blur. You want to capture those bracketed shots in as clear a way as possible. And don’t forget about timing—shooting during golden hour can really elevate your HDR photography. The soft, warm light can bring out incredible details in both shadows and highlights. With these simple settings, you’ll be well on your way to capturing breathtaking aerial images!
Additionally, using drones with advanced 3-axis brushless gimbals can significantly improve image stability, which is crucial for HDR shots.
Next, let’s discuss the best drones for HDR photography to help you make the right choice.
When Is the Best Time to Use HDR With Drones?
Hey there! Have you ever thought about when the best time to use HDR photography with drones is? Well, it’s all about finding those dynamic lighting moments, especially during sunrise and sunset. Those times are magical because the soft light really brings out amazing contrasts in your photos. Imagine capturing the warm hues of the setting sun reflecting off a lake—that’s where HDR shines!
Another great opportunity to use HDR is in high-contrast situations. For example, if you’re shooting into the sun or trying to capture a scene where parts are in the shade, auto-exposure bracketing can help. This technique allows you to take several shots at different exposures and combine them later, so you’ll keep all the details in both the bright and dark areas of your image. Just remember, calm days are your best friends for this—wind can really shake things up and blur your shots, which is not what we want for HDR. Using drones equipped with a 3-Axis Gimbal can help stabilize your shots for clearer HDR images.
Editing HDR Drone Images for Best Results
When it comes to editing HDR drone images, there are some key practices that can really elevate your results. First off, always shoot in RAW format for your bracketed images. This way, you’ll retain the maximum detail, which is crucial when you start post-processing.
Now, let’s talk about software. I recommend using Adobe Lightroom or other HDR software for merging your images. In Lightroom, the “Photo Merge” feature is a fantastic way to seamlessly stitch those images together. For example, if you have a series of shots of a stunning sunset, merging them in RAW will let you pull out those vibrant colors and intricate details.
When you’re merging, consider converting your RAW files to TIFF. This enhances quality and keeps everything crisp. If you’ve got any moving subjects, remember to use auto-align and deghosting features. This way, even if a bird flies through your shot, it’ll look clear instead of blurry.
To keep your workflow efficient, group similar images using Lightroom’s stacking feature. You can then apply consistent settings across those stacked shots, saving you a lot of time. It’s all about making the process smoother so you can focus more on creativity and less on the nitty-gritty.
Additionally, using drones with at least a 1080P HD camera ensures your original images have vibrant visuals that significantly improve the HDR editing outcome.
With these tips in your arsenal, you’ll be able to transform your HDR drone images into breathtaking works of art. Ready to jump into the next phase of editing?
Resolving Common Challenges in HDR Drone Photography
HDR drone photography is truly a breathtaking way to capture stunning landscapes from above, but it does come with a few challenges that we need to navigate. To start with, keeping your drone stable is super important, especially when it’s windy. A quick tip is to use the hover mode or tweak your stabilizer settings, which can really help minimize blurriness in your shots.
Now, let’s talk about those high contrast scenes where you want to capture all the details in both shadows and highlights. This is where exposure bracketing in HDR mode becomes your best friend. When you take multiple images at different exposure levels, you’re setting yourself up for success. For instance, if you’re shooting a sunset where the sky is bright but the ground is dark, bracketing allows you to pull in detail from both ends.
Make sure you’re familiar with your drone’s Auto Exposure Bracketing (AEB) features—it can significantly improve the quality of your shots. When it comes to post-processing, tools like Lightroom or Photomatix are fantastic for merging those bracketed images. They also help you correct any ghosting caused by moving elements in your photos.
And here’s a pro tip: try to plan your photography sessions during the golden hour. The light is softer and more inviting, which helps in achieving a well-balanced exposure without the harsh highlights. This approach not only makes your images more appealing but also sets the perfect stage for the next part of your photography journey—experimenting with different locations for your HDR shots!
Using drones with features like Electronic Image Stabilization (EIS) can further enhance image clarity by reducing motion blur during flight.
Frequently Asked Questions
When to Use HDR in Photography?
We should use HDR techniques in landscape photography during high-contrast lighting conditions. By exploring creative expression with our drones, we can capture stunning images. Remember, effective post processing tips enhance the results in various situational scenarios.
What Are the Best Camera Settings for Drones?
When we fly our drone camera, we should always set it to manual mode, adjusting exposure settings like ISO levels and shutter speed, while also fine-tuning white balance to achieve ideal image resolution.
Do Professional Photographers Use HDR?
Yes, we use HDR techniques extensively for artistic expression, enhancing image quality in landscape photography. With professional equipment, we leverage exposure blending and post-processing advantages to truly capture the depth and detail of our subjects.
Should I Keep HDR on or off in Camera?
We should keep HDR on in high-contrast scenes and challenging lighting conditions for better image quality, but consider turning it off in simpler scenes to avoid post-processing effects and potential drawbacks of movement.