As an Amazon Associate, we earn from qualifying purchases. Some links on this site are affiliate links at no extra cost to you. Our recommendations are based on thorough research and editorial judgment.

Understanding Long Exposure Photography With Drones
Understanding long exposure photography with drones allows us to capture stunning motion blur effects, like silky waterfalls and light trails. To make the most of this technique, we should consider vital factors, including the use of ND filters to manage bright light and the importance of manual settings for precise control. Stabilization is fundamental to avoid blurs, and testing various shutter speeds will enhance our shots. If we stick around, we’ll explore techniques to elevate our photography even further.
Key Takeaways
- Long exposure photography captures motion blur effects, ideal for scenes like waterfalls or light trails, using shutter speeds of 1 to 8 seconds.
- Utilizing a good ND filter, like ND16, prevents overexposure in bright conditions, allowing for longer shutter speeds.
- Manual mode ensures precise control over settings, with ISO set to 100 to reduce noise for cleaner images.
- Solid stabilization systems and calm weather conditions are critical for achieving sharp and clear long exposure shots.
- Saving images in RAW format allows for maximum detail retention and better post-processing flexibility for stunning final edits.
Unlock the Art of Long Exposure With Drones

When we think about long exposure photography, it’s easy to picture a classic camera setup. But have you ever considered how using drones can open up a whole new world of creative options? With a drone, you can capture breathtaking motion blur effects, like those gorgeous silky waterfalls or cool light trails from cars zooming by, just by adjusting your shutter speed to anywhere between 1 to 8 seconds.
To make those dreamy shots happen, you’ll want to invest in a good ND filter—an ND16 filter works wonders. It cuts down on light, allowing you to take longer exposures even in bright daylight. I recommend heading out just before sunset; the soft, golden light gives your images a beautiful pop while keeping them sharp.
Don’t forget to set your ISO to 100 and fiddle with your exposure settings manually to get the perfect shot. And here’s a great tip: take advantage of your drone’s advanced stabilization features. These help keep your shot steady, so you won’t have to worry about unintentional blurs caused by wind or vibrations. Once you master these techniques, you can explore even more exciting visual effects in your photography adventures!
Using drones with 3-axis gimbal stabilization can significantly enhance image clarity during long exposure shots, ensuring your photos are sharp and professional-looking.
Essential Camera Settings for the Best Long Exposures
If you want to capture those stunning long exposure shots with your drone, you’ll need to get a handle on the right camera settings—trust me, it can really make a difference! First off, put your drone in manual mode and set the ISO to 100. This keeps noise at bay, which is crucial for sharp images. From there, play around with the shutter speed; usually, something between 1 to 8 seconds works well to get that beautiful motion blur or those captivating light trails.
Now, don’t forget about ND filters! Using something like an ND16 helps manage the amount of light hitting your sensor, so you won’t end up with a washed-out image, especially when it’s bright outside. If your drone has a variable aperture, such as the Mavic 3, you can adjust that for depth of field—great for giving your images more dimension! Remember, it’s super important to take a few test shots. This way, you can fine-tune your settings and ensure clarity, reducing any blur from camera movement.
Additionally, using high-quality batteries with a high discharge rate can help maintain consistent power for longer exposure times. Once you’ve got this all set up, you’ll be ready to explore more advanced techniques, like incorporating different subjects and elements to really bring your long exposure shots to life!
Recommended Products

Precise Light Control: Split ND filter cuts light by 9-10 stops, enabling longer shutter speeds and creative motion blur without overexposing your shots.


Neutral Color Optics: Industry-renowned Freewell optics ensures color neutrality, ensuring your epic content with perfection.
Why Stabilization Is Critical for Aerial Long Exposures
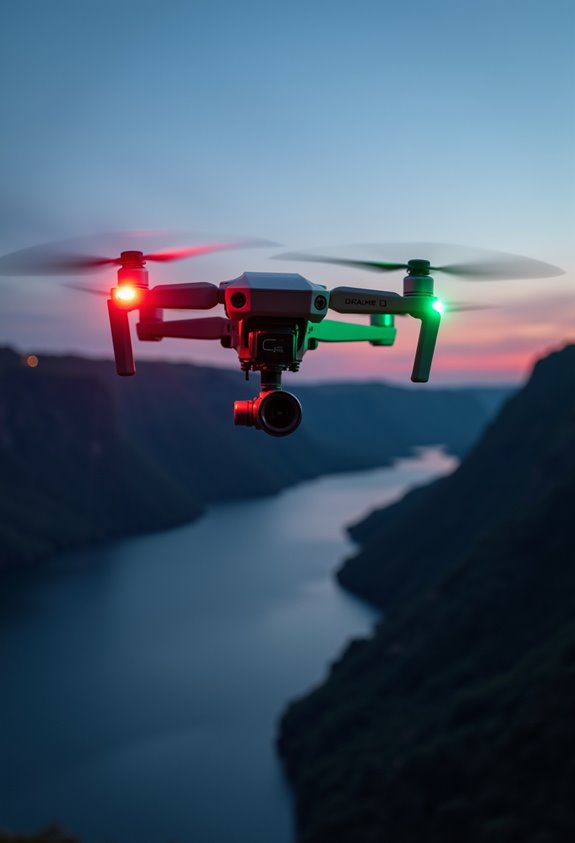
Hey, have you ever thought about how important stabilization is for capturing amazing aerial long exposures? Even the smallest vibrations can really mess with your shot, making it less clear and losing all those fine details. That’s why drones with advanced stabilization systems, like gimbals, are a must—they help keep your camera steady so you can get those sharp, stunning images.
Imagine you’re trying to capture the soft blur of flowing water from up high. If there’s any shake or wobble in your drone, that beautiful effect can turn into a messy blur. To combat this, I always recommend flying your drone on calm days—strong winds can really mess with your stability. Many of the best drones also feature 3-axis gimbal technology to eliminate camera shake and deliver crisp results.
Recommended Products

No Registration Needed - Under 249 g, this drone with camera for adults 4K does not require FAA registration or Remote ID for recreational use. Visit the FAA's official website for requirements related to drone registration and Remote ID. [1]
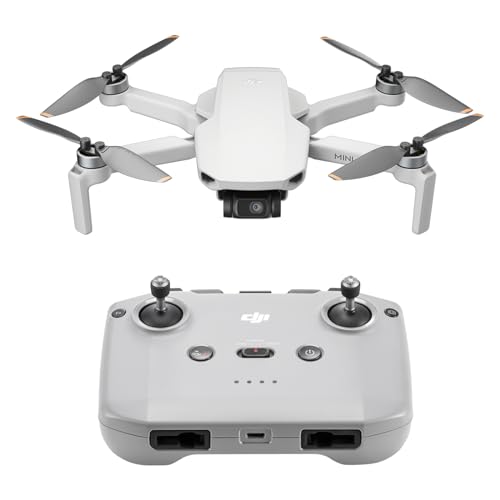
No Registration Needed - Under 249 g, this drone with camera for adults 4K does not require FAA registration or Remote ID for recreational use. Visit the FAA's official website for requirements related to drone registration and Remote ID. [1]

Lightweight and Portable: The drone with camera 4k for adults comes with weight of below 249g, compact and portable, without FAA or Remote ID registration, ideal for for outdoor enthusiasts
Enhance Your Long Exposure Shots With Creative Techniques
Hey there! If you want to enhance your long exposure shots, there are some creative techniques you’ll definitely want to try out. Playing around with different shutter speeds, like 1 to 8 seconds, can really transform your images. For example, if you shoot a waterfall with a longer shutter speed, the water will look silky smooth—it’s such an eye-catcher!
Using ND filters, like ND32 or ND64, is another great trick, especially when it’s bright outside. These filters help you keep longer shutter speeds without washing out your photos. Imagine capturing the beautiful blurred motion of a busy street at sunset; those light trails come out stunningly!
Don’t overlook the power of multiple exposures, either. By setting your camera up steadily and taking several shots, you can later merge them into one image, pulling the best elements together. Think about blending the perfect wave crashing at just the right moment with a vibrant sky.
And don’t forget about composition! Using leading lines, like a winding path or a railing, can guide your viewer’s eye right where you want it. You can really refine this in Adobe Lightroom later, making everything pop. Each of these tips not only enhances your long exposure shots but can also spark new ideas for your photography journey!
For aerial long exposure photography, using drones with advanced stabilization technologies can significantly improve the smoothness and clarity of your shots.
Recommended Products
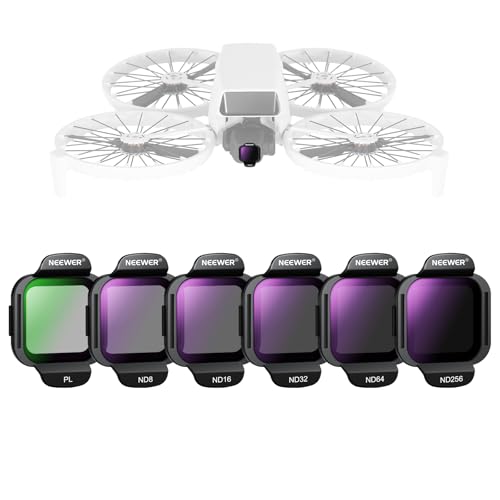
【Compatible with DJI Flip / Lito X1】 This drone gear accessories set is compatible with DJI Flip and Lito X1 Drone. It includes five neutral density lens filters (ND8, ND16, ND32, ND64, ND256) and a PL filter to elevate aerial photography and videography as content creator essential and influencer must have


【6 Pack Snap On Drone Lens Accessories】 The kit for your drone gear includes 4 x Neutral Density filter (ND4/ND8/ND16/ND32), 1 x circular polarizing filter, and 1 x UV filter, compatible with DJI Mini 4K Drone with 4K UHD Camera for Adults/ Mini 2 / Mavic Mini / Mini SE / Mini 2SE and Fly More Combos, meeting various photography needs, from glare reduction to long exposure effects, as well as providing lens protection. Simple snap on design makes easy and swift filter attachment and dismounting
How to Tackle Challenges in Long Exposure Drone Photography
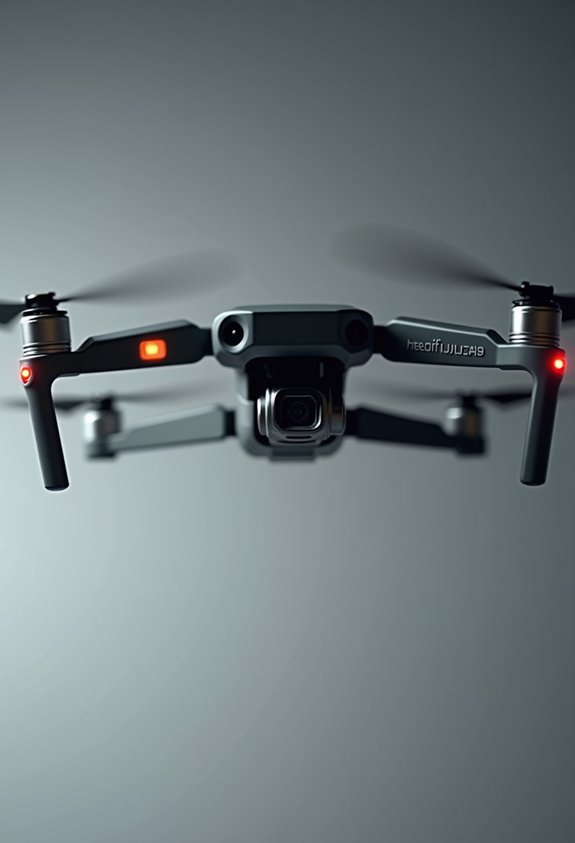
Long exposure drone photography is such an exciting way to capture stunning images, but it comes with its own set of challenges that we need to keep in mind. For starters, choosing a drone with a solid stabilization system is key. Have you ever noticed how even the tiniest vibrations can totally mess up your shot? A steady drone helps ensure your images come out sharp and clear.
Another thing to consider is battery life. Longer exposure times can drain your battery pretty quickly, so always have a couple of fully charged spares on hand before you head out. When you’re out there, especially in changing light conditions, switching to manual mode can really help. You can adjust your shutter speed anywhere from 1 to 8 seconds to get that perfect look. And if you’re worried about motion blur, try taking multiple shots in quick succession. This way, you can pick out the sharpest one later.
Weather plays a big role too. Flying on calm days will really up your game; wind can throw your drone around and ruin those long exposure shots. Imagine capturing a serene sunset over a lake with perfectly smooth water—it’s all about those still moments. So, getting familiar with the conditions before you fly can make all the difference in your results. Lightweight and durable polypropylene cases can also be very handy for organizing and protecting your drone accessories during travel. Now, with all that in mind, let’s explore the best settings you can use to really enhance your long exposure shots.
Recommended Products

For H99W H31 H6C H98 AT-96 TR-C385 TR-P51 TR-F22 SYMA Q11 quadcopter

Package Dimensions: 10.6 H x 3.8 L x 10.2 W (centimetres)

Provides up to 30 minutes of flight time
Post-Processing Tips for Long Exposure Shots
Hey there! Let’s talk about post-processing for long exposure shots. It’s a key part of making those dreamy images pop, helping you fine-tune the details and truly express your creative vision. When you load your photos into software like Adobe Lightroom or Photoshop, start with some basic adjustments. Play around with exposure and contrast to get just the right vibe, and don’t forget to tweak those highlights and shadows to give depth to your images.
Color correction is super important too. For instance, if you’ve taken a shot at sunset, adjusting the white balance can make those warm tones really come alive. If you notice any graininess in those low-light photos, try out some noise reduction techniques to smooth it out. Also, image stacking is a neat trick you might want to explore. By merging multiple exposures, you can mimic the effects of Neutral Density (ND) filters, resulting in that smooth transition of light, especially in landscapes with motion like flowing water.
Finally, after you’ve perfected your edits, make sure to save them in RAW format. This retains all the detail and gives you some wiggle room for any future tweaks you might want to make. Happy editing! Additionally, using ND filters can significantly enhance your exposure control and improve overall image quality by reducing light intake and preventing overexposure during bright conditions, making them essential for drone photography. Once you’ve polished your images, let’s discuss how to share them so they really shine!
Recommended Products

【3 Pack Drone Filter Set】 Compatible with DJI Mini 4K, Mini 2 SE, Mini SE, Mini 2, Mavic Mini and Fly More Combos, this circular polarizing neutral density drone filter set elevates your aerial photography and videography to a professional level. Each lens filter quickly snaps onto the camera and locks into place with a hook for secure attachment during flights

【Lightweight Design】 The filter frame is made of aviation aluminum alloy, and the edge of the frame adopts CNC non-slip design, which is easy to install and disassemble. It weighs only 1.2g without affecting drone calibration and balance.

Mavic 4 Pro Dual Focal Length Split Filter Kit: Engineered to overcome the challenges of different focal lengths and apertures, delivering precise exposure control for flawless footage.
Frequently Asked Questions
Can Drones Do Long Exposure Photography?
Absolutely, drones can capture stunning long exposure shots! By optimizing drone stability, adjusting shutter speed, utilizing creative techniques, and mastering ideal conditions with proper camera settings, we can craft breathtaking images that shine even more through post-processing.
What Is the 500 Rule for Night Photography?
The 500 Rule helps us calculate ideal shutter speed for night photography, balancing camera settings to minimize noise reduction. By avoiding star trails and adjusting for light pollution, we master the exposure triangle effectively.
What Are Common Mistakes in Long Exposure?
We often overlook shaky footage from wind, settings confusion with automatic adjustments, and filter usage under bright lighting conditions. Composition errors and equipment limitations can also hinder capturing breathtaking long exposure images we envision.
How Hard Is It to Learn Drone Photography?
Learning drone photography’s definitely a challenge, but with drone basics, photography tips, and essential equipment, we can master the learning curve. Embracing creative techniques while following safety regulations makes the process fulfilling and exciting!