As an Amazon Associate, we earn from qualifying purchases. Some links on this site are affiliate links at no extra cost to you. Our recommendations are based on thorough research and editorial judgment.

How ND Filters Affect Exposure Triangle in Drone Photography
ND filters greatly influence the exposure triangle in drone photography by allowing us to control the interplay of aperture, shutter speed, and ISO. With these filters, we can reduce light intake, enabling slower shutter speeds for capturing motion blur, while also permitting wider apertures for beautiful background bokeh effects. By managing ISO effectively, we guarantee excellent exposure in bright conditions. Understanding these dynamics will enhance our aerial imagery, and there’s much more to explore on how to maximize ND filter benefits.
Key Takeaways
- ND filters reduce light entering the camera, allowing for control over exposure in bright conditions by altering the exposure triangle settings.
- In manual mode, adjust aperture and ISO alongside the ND filter to maintain proper exposure balance for drone photography.
- Using ND filters enables slower shutter speeds without overexposing, which is essential for achieving cinematic motion blur in aerial shots.
- ND filters permit wider apertures, enhancing depth of field while avoiding overexposure, ideal for capturing dreamy backgrounds in drone images.
- Selecting the appropriate ND filter strength based on lighting conditions is crucial for optimal exposure and overall image quality in drone photography.
Understanding ND Filters for Drone Photography

Hey there! If you’re looking to take your aerial photography to the next level with your drone, understanding ND filters is super important. These filters, which stand for Neutral Density filters, help reduce the amount of light hitting your camera’s sensor. This is really useful for getting the right exposure, especially when you’re out shooting on sunny days.
Think of ND filters like sunglasses for your camera. They come in different strengths like ND4, ND8, and ND16—basically, the higher the number, the more light they block. For example, if you’re shooting a waterfall scene and you want that beautiful, silky effect on the water, using an ND16 filter can let you slow down your shutter speed without overexposing the image.
Using ND filters can also help eliminate glare and give your shots that cinematic vibe we all love. Plus, they keep your shutter speed balanced with your ISO and aperture, making it easier to capture stunning images. So next time you pull out your drone, don’t forget to grab your ND filters—your photos will thank you! Many popular ND filters also use multi-layer coatings to reduce flaring and enhance image quality.
How ND Filters Influence Shutter Speed and Motion Blur

Hey there! Let’s chat about how ND filters can affect your shutter speed and motion blur when you’re out there capturing stunning drone shots. When you attach an ND filter to your camera, it reduces the amount of light that gets in. This means you can use slower shutter speeds without worrying about overexposure, which is super handy on bright sunny days!
For instance, if you’re shooting at 24 frames per second to get that nice cinematic feel, you’d want to set your shutter speed at around 1/50 of a second. This helps you keep that smooth motion blur that makes your footage look professional and polished. And if you’re dealing with really bright conditions, going for higher ND ratings like ND16 or ND32 lets you slow down even more. This is great for capturing beautiful scenes like rushing water or clouds drifting across the sky in your aerial shots.
Understanding how to balance your shutter speed and ND filter can really elevate your drone photography game. Next, let’s talk about how to choose the right ND filter for specific shooting scenarios! It’s also important to consider the optical quality assurance of your filters to ensure your images remain crisp and clear.
Recommended Products

Provides precise control over shutter speed for smooth footage in bright environments with low shutter speeds.

【Ultra-light 4K Camera 】: RunCam listened to the fpv community and finally upgraded this budget and small action cam. Only 16g weight and mini size bring more options to fpv video recording.Suitable for all kinds of fpv drone and rc hobby. Best camcorder for FPV training Freestyle racing and Cinematic filming.

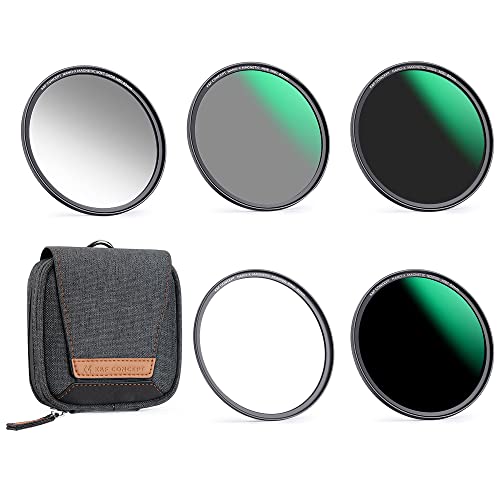
This comprehensive collection includes a variety of essential filters such as ND16 to ND1000 for precise light control, ND16/PL to ND256/PL for morning shots and polarization effects, UV for lens protection, and CPL to reduce glare in challenging lighting. Additionally, this set features specialized filters like the Snow Mist 1/4, which adds a dreamy, ethereal quality to your visuals, and a Light Pollution Filter to capture stunning nightscapes free from artificial light interference. Each filte
How ND Filters Affect Aperture and Depth of Field

Using ND filters in drone photography can really change the game, especially when it comes to your aperture settings and how they affect depth of field. With these filters, you can shoot at wider apertures, even in bright sunlight. This is fantastic for creating that dreamy bokeh effect, letting your subjects pop against a nicely blurred background.
For example, if you’re capturing a sunset over the ocean, an ND filter allows you to keep your aperture wide open. This not only makes the foreground stand out beautifully but also prevents the harsh sunlight from overwhelming your shot. Plus, because ND filters give you more exposure control, you can avoid the problems that come with using too small an aperture, which can make your images look soft due to diffraction. Additionally, using magnetic ND filters enables quick adjustments in changing light conditions without interrupting your workflow.
Recommended Products

Most Versatile VND system on the market: VND2-5丨VND6-9丨CPL丨ND32/CPL丨VNDXMIST2-5丨VNDXMIST6-9丨GLOW MIST
【1 Second Swap】Filter Install Combination Way- Magnetic Adapter Ring + ND Filter. This magnetic lens filter kit could finish swap in less than one second compared with conventional thread filters. Never miss any wonderful moment.
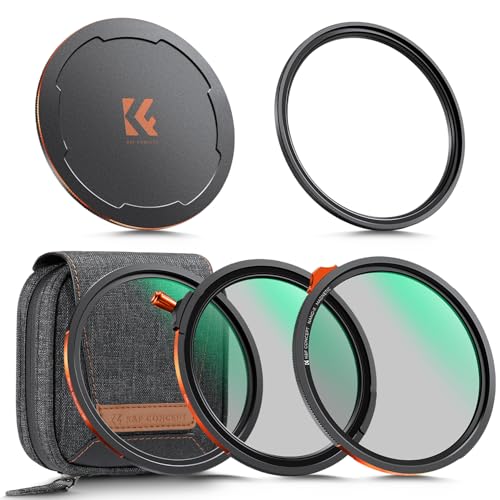
Installation & Compatibility: Magnetic Adapter Ring → CPL/VND 2-in-1 → Black Diffusion 1/4. NOT compatible with other K&F CONCEPT filters/adapter rings of same size or other brands' magnetic systems. Ensure correct selection
Balancing ISO for Perfect Exposure
So, let’s chat about balancing ISO in your drone photography—it’s a crucial piece to nailing that perfect exposure. When you pop on ND filters, they help control the light entering your camera, which often means you might need to play around with your ISO settings. Generally, setting your ISO at 100 or 200 is a smart choice, as it significantly reduces noise and keeps your images crisp and clear.
Now, a higher ISO isn’t always your friend, especially in those low-light situations—it can lead to grainy images that lose detail. Think of ISO as part of a recipe: it works with your shutter speed and aperture to create an ideal exposure. For example, if you have your shutter speed set to capture some beautiful motion blur in a sunset drone shot, you might need to bump up that ISO a little to counter the light dimming effects of your ND filter.
Balancing ISO with those other settings lets you maintain your creative vision, even when conditions are less than ideal. This understanding sets the stage for getting the most out of your drone, no matter the lighting. Speaking of which, let’s explore how to effectively mix shutter speeds and aperture settings to maximize your photography skills. Additionally, using drones with advanced stabilization technology helps ensure your shots remain sharp even at slower shutter speeds.
Recommended Products

Includes ND8, ND32, and ND128 weight optimized for the Mini 4 Pro.

Meeting the needs of shutter speed control during recording. High-quality light-reducing materials that bring you real color. Precise mechanical design ensures a reliable fit and seal.

【Import Optical Glass】This ND filter is made by importing Japanese AGC optical glass, a total of 28 multi-layer coatings, effectively reducing reflection from the filter itself and glarings, ensuring high-quality image. Old and new packaging will be distributed randomly, with no changes to the product contents.
How to Choose the Right ND Filter for Your Drone
Hey there! So, you’re wondering how to choose the right ND filter for your drone photography? Well, it all starts with understanding your lighting conditions. For instance, if you’re flying on a bright, sunny day, you might want to pick a stronger ND filter like ND16 or ND32. But if the sky is overcast, then an ND4 or ND8 will do the job just fine.
Next up, let’s talk about shutter speed. It’s really important to match your shutter speed to your frame rate to keep your footage looking smooth. So, if you’re filming at 30 frames per second, aim for a shutter speed of about 1/60 seconds. It’s a simple rule that can make a big difference in the quality of your shots.
Also, don’t forget to consider the specific ND filters that fit your drone model. You want to avoid issues like vignetting or color casting that can crop up if the filter isn’t quite right for your setup. It’s worth investing in a filter set with a range of ND ratings—it gives you flexibility for different lighting scenarios. Plus, using graduated ND filters can help even out exposure in landscapes where light varies a lot, like a bright sky over a darker forest.
Lastly, just like choosing the appropriate mount, ensuring the surface compatibility of your filter attachment is crucial for stable and secure drone operation.
Recommended Products
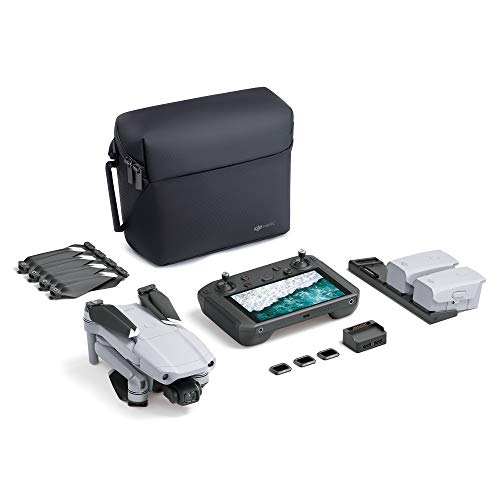
UP YOUR GAME : The Mavic Air 2 camera drone takes power and portability to the next level. It combines a powerful camera with intelligent shooting modes for stunning results. Push your imagination to its limits because aerial photography has never been this easy.
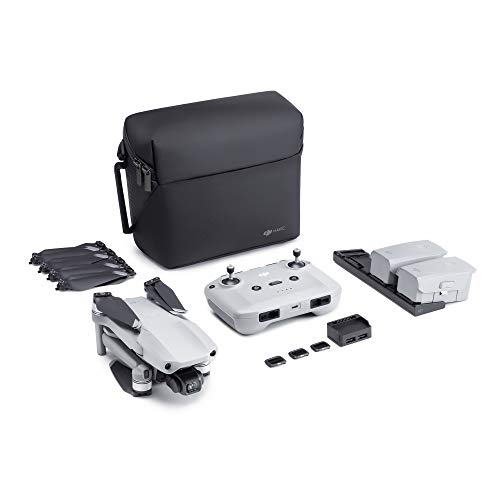
【UP YOUR GAME】: The Mavic Air 2 camera drone takes power and portability to the next level. It combines a powerful camera with intelligent shooting modes for stunning results. Push your imagination to its limits because aerial photography has never been this easy.

The Mavic Air 2 camera drone takes power and portability to the next level. It combines a powerful camera with intelligent shooting modes for stunning results. Push your imagination to its limits because aerial photography has never been this easy.
Top Mistakes to Avoid When Using ND Filters
Hey there! So, when we start exploring drone photography with ND filters, there are some common mistakes we really want to sidestep to get the best shots possible. For instance, one rookie error is grabbing an ND filter that’s just too strong. This can really cut down the light hitting your camera sensor, leaving you with dark, underexposed images.
And speaking of light, it’s super important to adjust your shutter speed accordingly. If you forget this step, you might end up with shots that look blurry when they shouldn’t be. For example, if you’re using a 6-stop ND filter, you might need to slow your shutter speed down to maintain the right exposure, or else risk losing crisp details.
Also, keep an eye out for vignetting, especially if you’re using a wide-angle lens. This pesky problem can lead to those annoying dark corners in your photos. Before you throw on the ND filter, it’s wise to focus your shot. The darker the filter, the trickier it can be to nail that sharp focus, and we all want our images to look their best.
Make sure to consider your drone’s camera quality and resolution beforehand, as these factors greatly influence how well ND filters will perform in varying light conditions.
Tips for Maximizing ND Filter Usage
Hey there! So, let’s chat about how to get the most out of your ND filters in drone photography. First off, when you’re out there flying, always set your camera to manual mode. This gives you full control over the exposure triangle—aperture, shutter speed, and ISO—which is key to nailing your shots.
Start with the least powerful ND filter that suits the lighting conditions. For example, if it’s a bright, sunny day, a 4-stop ND filter might do the trick. As the sun begins to set, you can swap to a stronger filter to keep everything properly exposed without blowing out any highlights.
For video footage, there’s a simple trick: set your shutter speed to double your frame rate. If you’re shooting at 30 frames per second, your shutter speed should be around 1/60 second. This helps create that smooth, natural motion blur that makes everything look more cinematic.
Don’t forget to keep track of the ND filter’s stop rating. Understanding how many stops you’re using makes it easier to adjust your camera settings accordingly, allowing for that perfect shot that balances light and creativity. Now, let’s explore how to choose the right ND filter for different environments!
Using filters made with high-quality optical glass can greatly improve clarity and color accuracy in your drone shots.
Recommended Products

Enhanced Camera for Travel Shots - Air 3S's 1" CMOS primary camera delivers breathtaking shots with enriched detail in low-light scenarios like sunsets and nightscapes.

Enhanced Camera for Travel Shots - Air 3S's 1" CMOS primary camera delivers breathtaking shots with enriched detail in low-light scenarios like sunsets and nightscapes.

Enhanced Camera for Travel Shots - Air 3S's 1" CMOS primary camera delivers breathtaking shots with enriched detail in low-light scenarios like sunsets and nightscapes.
How ND Filters Enhance Aerial Imagery Quality
Hey! If you’ve ever wondered how to take your aerial shots to the next level, let me tell you about ND filters. These handy tools significantly improve the quality of your photos and videos by reducing the light that enters your camera lens. This means you can achieve the perfect exposure, making your images pop with color and clarity, especially on sunny days.
One of the coolest things about ND filters is that they let you use slower shutter speeds. This is great for capturing motion blur—think of making flowing water look silky smooth or fluffy clouds drift by. It really adds a beautiful cinematic effect to your shots! Plus, they help you follow the 180-degree shutter rule, which is key for keeping video footage looking buttery smooth.
Using an ND filter also lets you open up your aperture a bit more. This improves depth of field, so your subject stands out sharp against a beautifully blurred background. And when you’re flying high, they help balance the exposure between bright skies and darker ground, so you don’t lose detail in those tricky lighting conditions. To make the most of capturing high-quality aerial footage, it’s also important to use storage solutions like high-speed 256GB memory cards that handle large file sizes efficiently.
Frequently Asked Questions
Does the ND Filter Affect Exposure?
Sure, ND filters don’t just sit there looking pretty; they actually enhance our shots! With them, we enjoy benefits like better shutter speed adjustments, capturing motion smoothly, and maintaining drone stability during long exposure moments. Isn’t that neat?
Why Use ND Filters on Drones?
We use ND filters on drones for their aesthetic advantage, enhancing motion blur and improving filming techniques. They provide light reduction, making our shots suitable for various shooting conditions, resulting in stunning aerial imagery.
How Does Increasing the Aperture Number Affect the Exposure in the Exposure Triangle?
When we increase aperture settings, light control leans towards the shadows, enhancing sharpness impact but sacrificing shallow depth. In low light photography, we must dance with ISO and shutter speed to maintain perfect exposure.
Can Exposure Be Affected by Filters?
Yes, filters can greatly affect exposure. Different filter types help us achieve creative control, allowing for light reduction under various shooting conditions, which enhances image clarity while maintaining balanced highlights and shadows.


