As an Amazon Associate, we earn from qualifying purchases. Some links on this site are affiliate links at no extra cost to you. Our recommendations are based on thorough research and editorial judgment.

Understanding ND Filter Strength: ND4 vs ND8 vs ND16 vs ND32
Understanding ND filter strengths is essential for photographers. ND4 reduces light by 2 stops, perfect for slightly bright conditions, while ND8 blocks 3 stops, suitable for bright sunlight and creating silky effects. ND16 cuts 4 stops, great for sunny days and blurring backgrounds, and ND32 minimizes light by 5 stops, ideal for maintaining exposure in intense sunlight. Each filter serves distinct purposes, allowing for creative control over exposure and effects. Let’s explore each filter’s practical applications further.
Key Takeaways
- ND4 Filter reduces light by 2 stops, allowing 25% of light to pass, ideal for slightly bright conditions with mild motion blur.
- ND8 Filter cuts light by 3 stops (12.5% transmission), suitable for bright sunlight, enhancing dramatic effects and maintaining depth of field.
- ND16 Filter blocks 4 stops of light (6.25% transmission), perfect for sunny days, controlling exposure while achieving a shallow depth of field.
- ND32 Filter reduces light by 5 stops (3.12% transmission), effective for midday brightness, preventing overexposure while preserving vibrant colors in outdoor shots.
- Choosing Filter Strength depends on lighting conditions; ND32 for sunny days, ND16 for golden hour, ND8 for mornings/evenings, and ND4 for lower light.
What Are ND Filters and How Do They Work?
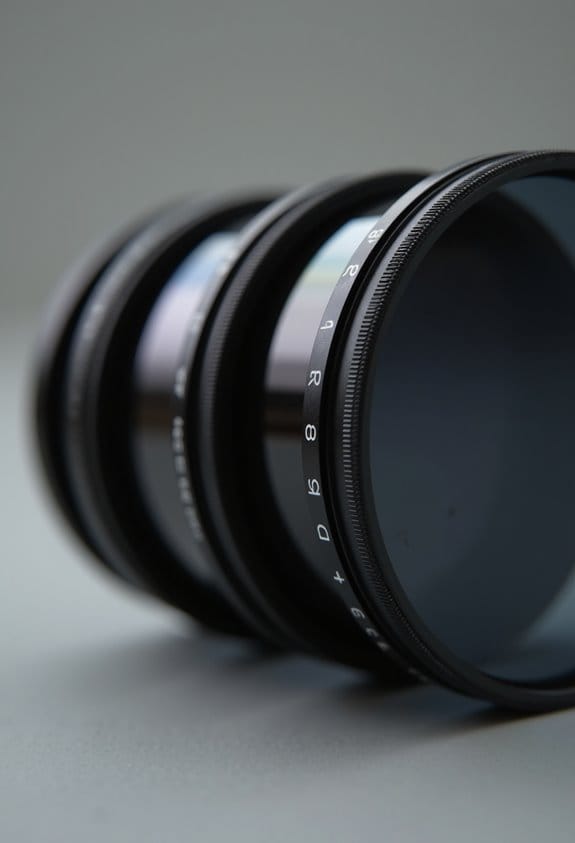
Hey there! Have you ever heard of ND filters, or neutral density filters? They’re super handy tools for photographers. Essentially, what ND filters do is reduce the amount of light that comes into your camera lens. This is great because it lets you take longer exposure shots or use wider apertures without messing up the colors in your photos.
Let me break it down a bit: if you’re using an ND4 filter, it allows in just 25% of the light, which means you’re essentially losing 2 stops of light. An ND8 is a bit darker, letting through only 12.5%, translating to a 3-stop reduction. And if you really want to go dark, an ND32 filter can help, reducing the light even more.
Using these filters can help you achieve some pretty cool effects! For instance, if you want that silky smooth look for a waterfall, an ND filter will help you create motion blur without having to crank your ISO way up. Neat, right?
Choosing the right filter also means considering the optical quality to ensure your images remain sharp and vibrant.
Practical Applications of ND Filters for Photographers

Hey there! If you’re looking to step up your photography game, ND filters are definitely worth your attention. These handy tools help reduce the amount of light entering your camera, letting you experiment with various creative effects. For instance, an ND4 filter allows about 25% of light through, making it ideal for slightly bright conditions. It’s perfect for capturing beautiful motion blur in flowing water, while keeping other elements in the shot nice and sharp.
Now, if you want to really push the creative boundaries, consider an ND8 filter. This one blocks about 87.5% of light, which lets you shoot in super bright sunlight without blowing out your highlights. You can create dramatic effects in your images, like silky smooth waterfalls or clouds moving across the sky, and it won’t compromise the overall exposure.
For scenarios where you want that dreamy, shallow depth of field, grab an ND16 filter. It cuts down light to just 6.25%, so you can open up your aperture even in glaring sunshine. This is fantastic for portrait shots in the middle of the day, where you want your subject to stand out against a nicely blurred background.
And let’s not forget graduated ND filters, like the ND4 or ND8. These are particularly useful in landscapes. They help balance the exposure between the bright sky and darker ground, resulting in evenly lit, stunning photos. Choosing the right filter is somewhat like selecting the ideal frequency band in a transmitter to achieve the best balance between performance and clarity.
Recommended Products

Provides precise control over shutter speed for smooth footage in bright environments with low shutter speeds.

【Light Reduction & Color Enhancement 2-in-1】Variable and filter provides 1-5 stops light reduction need, including ND2/ND4/ND8/ND16/ND32, the suitable range from a cloudy day to a bright day. CPL is widely used for color and contrast enhancement in white cloud and blue sky photography.

Continuous 2–8 Stop Variable ND Control: Quickly dial in 2 to 8 stops of light reduction for precise exposure control in bright conditions, perfect for video, long exposure photography, and hybrid creators
Comparing ND Filter Strengths: ND4, ND8, ND16, and ND32
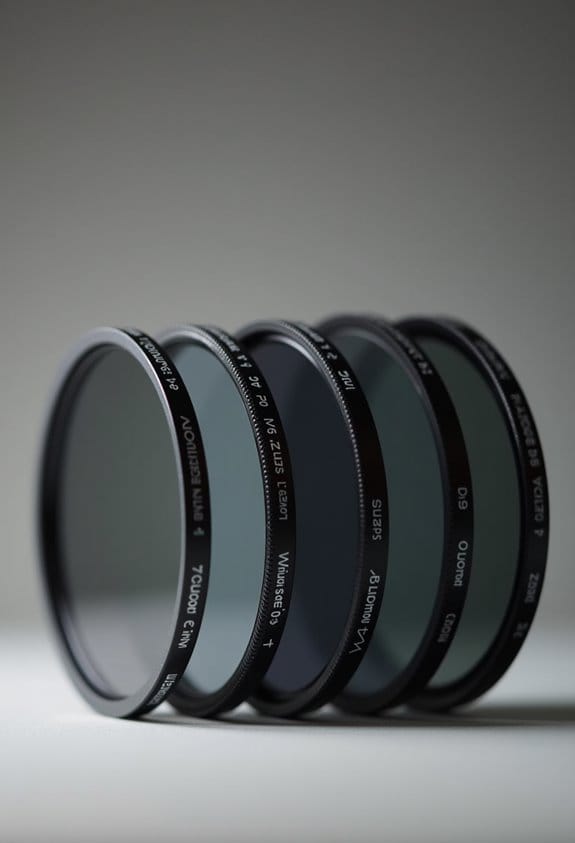
Got it! Let’s chat about ND filters, specifically ND4, ND8, ND16, and ND32. Understanding the strengths of these neutral density (ND) filters is super important for getting the effects you want in your photography. Think of them as sunglasses for your camera; they help control the amount of light hitting the sensor, letting you play with exposure settings in brighter conditions more easily.
Let’s break it down:
- ND4 cuts the light by 2 stops, which means it lets through about 25% of the light. This is perfect for those slightly bright days when you want to create some motion blur—like making a waterfall look silky smooth without overexposing your shot.
- ND8 reduces the light by 3 stops, transmitting about 12.5% of light. If you’re looking to capture a serene lake scene with glassy water reflections or want to emphasize the depth of field in your portraits, this filter does the trick beautifully.
Moving on to the stronger options:
- ND16 blocks 4 stops and lets in only 6.25% of light. It’s the go-to choice for bright, sunny days when you need to control exposure, especially if you’re shooting landscapes or trying to blur that background while keeping your subject sharp.
- Finally, ND32 reduces light by 5 stops, allowing just 3.12% through. This filter shines in very bright situations, like midday outdoor shoots. Imagine trying to photograph a beach scene without overexposing the sky or washing out the colors—this is where ND32 can really help.
Ultimately, picking the right ND filter depends on how much light you want to tame and the specific artistic effects you’re after. Whether you’re softening water or managing sunlight in a vibrant landscape, these filters can help you achieve that perfect shot. Now, let’s explore how to effectively use these filters in practice! Using ND filters with high-quality optical glass ensures minimal distortion and vibrant color reproduction in your images.
Recommended Products
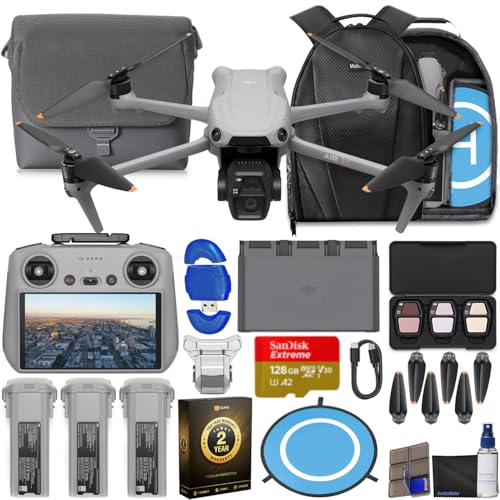
This Bundle Includes: DJI Air 3S Drone, RC 2 Remote Controller, 3 x Intelligent Flight Battery, 128GB Extreme microSD Memory Card, High USB Speed Memory Card Reader, Shoulder Bag , Drone Photography Backpack, 3 x Extra Pair of Low-Noise Propeller, Gimbal Protector, USB-C PD Cable, ND Filter Set (ND8, ND32 & ND128), Battery Charging Hub, Drone Landing Pad, Camera Lens Cleaning Kit, 6-Slot Memory Card Wallet, CPS 2 Year Warranty, Bundle It Better Lens Cloth

See Description what kit includes Ultra-Light, Palm-Sized Foldable Design - Compact and foldable, this palm-sized drone slips easily into a pocket and offers 42GB of internal storage for uninterrupted flying [7].

See Description what kit includes Ultra-Light, Palm-Sized Foldable Design - Compact and foldable, this palm-sized drone slips easily into a pocket and offers 42GB of internal storage for uninterrupted flying [7].
How to Pick the Best ND Filter for Your Photography Style
When it comes to photography, choosing the right ND (neutral density) filter can really make a difference in how your images turn out. Think of it as sunglasses for your camera—it helps control the amount of light coming in so you can play with your exposure settings more freely. Knowing the strength of different ND filters can help us pick the best one based on the lighting conditions we’re working with.
For instance, if you’re shooting on a particularly bright sunny day, an ND32 filter can really help. It cuts down the light by 5 stops, which is fantastic if you want to shoot with a wider aperture. This can give you that dreamy background blur while still keeping your subject sharp. On the other hand, if you’re in a place with moderate light, like during the golden hour, the ND16 filter might be your best friend. It reduces the light by 4 stops and gives you a nice depth of field effect without overwhelming the scene.
And what about those serene mornings or evenings? An ND8 filter can step in here, providing a 3-stop reduction that’s perfect for making slight adjustments to your exposure without losing detail in the highlights. If you’re keen on creating motion blur, say, to give that flowing water a soft, silky look, an ND4 filter can cut the light down by 2 stops, which is just right for those lower light situations.
Incorporating ND filters into your photography can really enhance your creative options and help you capture the images you envision. Using high-quality filters with multi-coated surfaces can ensure your image quality remains sharp and free from unwanted reflections or color casts. So next time you’re planning a shoot, think about the lighting and what effect you want to achieve, and choose an ND filter accordingly! This way, you’ll be ready to take your photography to the next level.
Steps to Create Motion Blur With ND Filters?
Hey there! If you’re looking to capture some stunning motion blur in your photos, I’ve got some great tips for you. Motion blur can really bring your images to life and grab the viewer’s attention. The first step is picking the right ND filter, which reduces the amount of light entering your lens. For super bright sunny days, an ND32 works wonders, while for overcast or twilight, an ND4 will do the trick.
Once you have your filter, it’s time to play with your exposure time. You can go from a standard shutter speed of 1/60 to several seconds, especially when using those stronger ND filters. For example, if you’re photographing a waterfall, a few seconds of exposure can create a silky, flowing effect. Also, don’t forget to set your aperture wide open—something like f1.4 will give you that lovely depth of field and enhance the motion blur you’re after.
Experimenting is key here! Try out different strengths of ND filters to see how they affect your shots. You might find that some filters create a unique look that sparks your creativity in new ways. It’s all about having fun and playing around with techniques to find your style! Now, let’s talk about capturing the right subject for that perfect motion blur effect. Remember, using high-quality optical glass ND filters with multi-layer coatings helps maintain image clarity even with longer exposures.
Recommended Products

Enhanced Camera for Travel Shots - Air 3S's 1" CMOS primary camera delivers breathtaking shots with enriched detail in low-light scenarios like sunsets and nightscapes.

Enhanced Camera for Travel Shots - Air 3S's 1" CMOS primary camera delivers breathtaking shots with enriched detail in low-light scenarios like sunsets and nightscapes.
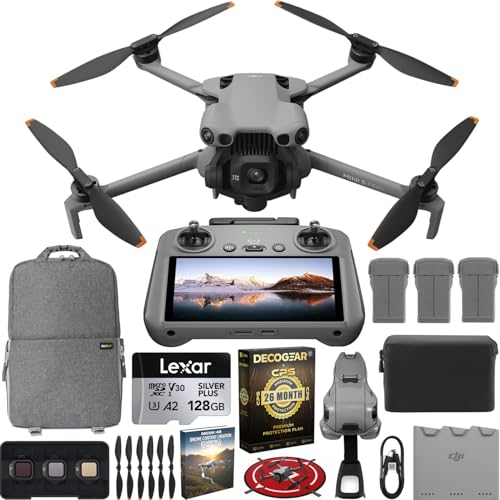
DJI USA Authorized - Includes Full USA Warranty + 26 Month CPS Exclusive Warranty! | DJI Mini 5 Pro is the perfect choice for content creators, photographers, and pilots looking for an ultra-portable drone with uncompromising image quality. It manages to combine power, safety, and ease of use, setting a new standard in the world of compact drones
Using ND Filter Strengths in Real Photography Scenarios
Hey there! Let’s chat about using ND filters in photography. You know how sometimes you want to capture that perfect shot but the lighting is just too intense? That’s where different ND filter strengths come in handy. For instance, if you’re out during golden hour and the light is bright, an ND4 filter does a great job of cutting down just enough light to prevent overexposure, so you can still catch those gorgeous warm tones.
Now, if you’re trying to achieve that dreamy bokeh effect on a sunny day, you might want to grab an ND16 filter. It allows only 6.25% of light through, which helps you blur the background beautifully while keeping your subject nice and sharp. It’s perfect for portraits or any shot where you want to draw attention to your focal point while softening the distractions around it.
When you’re shooting flowing water, an ND8 filter can be your best friend. This filter slows down your shutter speed, letting you capture that silky smooth motion blur—think of waterfalls that look like satin in your photos. And if you’re taking outdoor portraits in bright sunlight, the ND32 filter keeps your exposure in check while still letting you create that lovely background bokeh. Just remember, the right ND filter will help you maintain clarity in your subjects while softening everything else.
Many photographers prefer multi-layer nano-coating on ND filters for enhanced light control and minimal reflections.
Now that you’ve got a handle on how to match the right ND filter with your shooting conditions, let’s look at how different shutter speeds can affect your imagery too!
Frequently Asked Questions
What Is the Difference Between ND8 and ND32?
Like choosing the right tool for a masterpiece, the ND8 and ND32 filters serve different purposes: ND8 allows moderate light for subtle effects, while ND32 handles harsh sun, each enhancing our ND filter photography options effectively.
What Is the Difference Between ND4 and ND8 Filter?
When we compare ND4 and ND8 filters, we see that ND4 offers moderate light control, while ND8 provides more substantial reductions, enhancing photography techniques and video production quality through effective exposure adjustments and creative possibilities.
Is ND32 Enough for Daylight?
Yes, an ND32 filter can be effective for daylight photography, providing good exposure control under most conditions. However, depending on light intensity, we might prefer stronger filters for high dynamic range scenes or specific creative effects.
What Do the Numbers on ND Filters Mean?
Imagine our lenses wearing sunglasses! The numbers on ND filters indicate light absorption, showcasing exposure reduction. They guide our filter application in photography techniques and video filmmaking, influencing color cast and creative effects for various usage scenarios.


